
How to Fade
Your Own Hair with Clippers
Fading your own hair is the advanced move: genuinely doable with patience and the right technique. Here's the honest guide.
By Jessica Hamilton, Editor · Updated
Quick answer: Fading your own hair is the hardest DIY cut, but a simple low fade is achievable with the guard-ladder method. Set several guards, such as #1, #2 and #3, shortest at the bottom, with each running slightly higher. Then blend the steps with an upward flicking motion. Use two mirrors and a clipper with a taper lever.
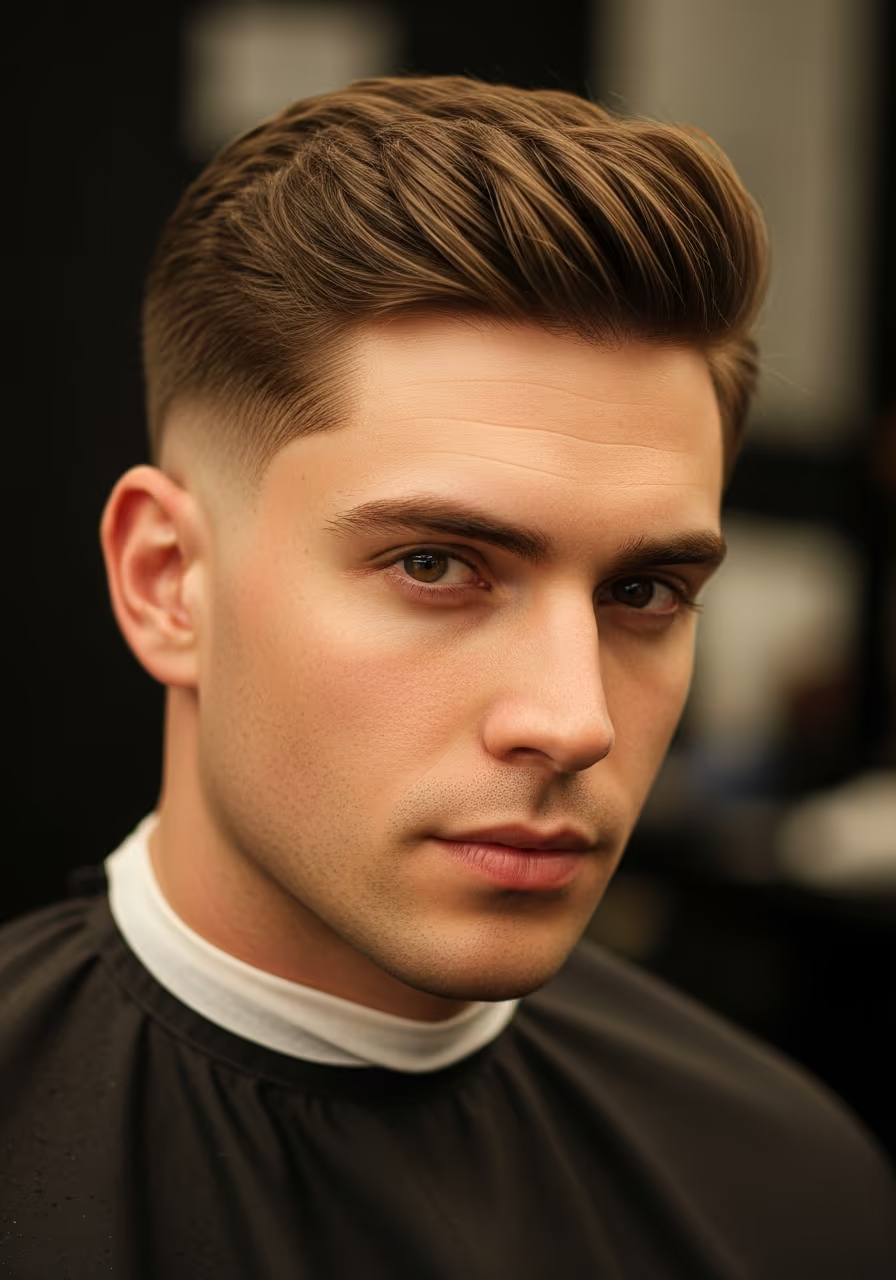
Style images are AI-generated illustrations.
📚 Part of our Styling, Products & DIY guide hub; start there for the rest of the topic.
Let's be honest up front: fading your own hair is the hardest DIY cut, because a fade is all about blending and you can't easily see the back of your own head. It is doable, though. The guard-ladder method plus patience gets you a passable self-fade, especially a simple low one. Here's the realistic technique. And, more usefully, exactly where it gets hard.
How Do You Fade Your Own Hair With the Guard-Ladder Method?
To fade your own hair, set a guard ladder such as a #1 at the bottom, a #2 above it and a #3 above that, run each guard slightly higher than the one below, then blend the lines with an upward flicking motion. Start with a low fade, use two mirrors, and always begin with the longest guard.
A fade is just several guard lengths blended into each other, shortest at the bottom. The trick is the transition between them:
- Set your ladder: e.g. #1 at the bottom, #2 above it, #3 above that, blending into the longer top.
- Start with the longest guard of the sides and work down. You can always go shorter.
- Mark your fade line: decide how high the fade goes (low is easiest to self-do).
- Run each guard up to a slightly higher point than the one below, creating steps.
Which Guard Ladder Should You Use for Each Fade Height?
A guard is the plastic comb that clips onto the clippers and sets the length; a fade is a cut where the sides get gradually shorter toward the bottom. The height of the fade decides how many guards you blend. See our clipper guard numbers chart and fade types explained.
How Do You Blend a Self-Fade Without Lines?
The steps between guards leave visible lines, and blending erases them. Use the "flicking" motion: run the clipper up into the longer section and flick outward at the transition, breaking up the hard line. A clipper with a lever (taper lever) lets you fine-tune length between guards for smoother blends. This is the part that takes practice; go slow and check constantly.
What Should You Expect From Your First Self-Fade?
- A low fade is far easier to self-do than a high or skin fade.
- The back is the hard part: use two mirrors and accept it won't be barber-perfect.
- Your first self-fade won't be flawless, since it's a skill that improves with reps.
- If it goes wrong, you can buzz it down to an even length as a reset, a safe fallback.
- For an important event, see a barber; save the self-fade for practice runs.
What Tools Do You Need to Fade Your Own Hair?
- Two mirrors set at an angle: a handheld mirror facing a large wall mirror lets you see the back and sides properly. Cutting blind at the back is where most self-fade mistakes happen.
- A clipper with a full set of guards: having every guard size from a skin-close blade up to a longer length lets you step the guard-ladder in small, controllable increments.
- Good, even lighting: a bathroom with a single overhead light creates shadows that hide unevenness until you step outside. A well-lit room or a portable light makes blending mistakes visible while you can still fix them.
- A cordless trimmer for the edges: once the fade is blended, a separate trimmer cleans up the hairline and neckline more precisely than clippers alone.
How Do You Fix a Self-Fade That Went Wrong?
A visible line where two guard lengths meet is the most common self-fade mistake, and it is fixable by going back over that exact spot with the shorter of the two guards, moving in small upward flicking motions to soften the edge rather than blend it flat. Do this slowly and check often, since it is much easier to take more off than to put hair back.
If one side ends up noticeably shorter than the other, resist the urge to keep cutting the longer side down to match exactly. Instead, go one guard size shorter on the longer side only in the transition zone, then blend both sides upward together so the difference is less obvious than a full even reduction would be.
Which Guide Fixes Your Specific Self-Fade Problem?
- One side higher than the other: how to fix an uneven fade.
- Dark bands or patches in the blend: why does my fade look patchy.
- Hairline pushed back by the trimmer: how to fix a line-up that is too high. A line-up is the sharp edge at the forehead and temples.
- Took the sides or top too short: my barber cut too much off covers the grow-out.
Mistakes to avoid on the next try: starting with the shortest guard, cutting the back without two mirrors, blending under a single overhead light, and fixing one side over and over until the fade sits too high.
Does Hair Type Change How You Fade Your Own Hair?
Straight hair shows guard lines more clearly since it lies flat and reveals any unevenness immediately, so extra time spent blending pays off visually. Curly or coily hair tends to hide small unevenness better once it springs back into its natural pattern, but it also compresses under the clipper, so guards can cut shorter than the marked length suggests. Going up one guard size from what you would normally use on straight hair is a safer starting point for curlier textures.
How Often Do You Need to Redo a Self-Fade?
Hair grows about half an inch a month, roughly 1/8 inch a week, and the bottom of the fade shows it first. Most self-faders touch up the bottom guard weekly and redo the whole ladder every 2 to 3 weeks, in line with how often you should get a haircut.
| Time | Bottom of the fade | What to do |
|---|---|---|
| Week 1 | A #1 looks like a #2 | Touch up the bottom guard only |
| Week 2 | Steps start to show | Redo the bottom two guards and re-blend |
| Week 3 | Blend mostly gone | Run the full ladder again |
| Week 4 | Reads as a grown-out taper | Full fade, or book a barber |
If the back gets away from you, a barber can clean it up. A standard fade costs about $25 to $45 and a skin fade about $30 to $60, per our haircut cost guide and skin fade cost guide. Wording help is in how to talk to your barber.
What to say in the chair
“I tried fading this myself. Can you clean up the blend at the back without taking the sides any shorter than a #1?”
Our DIY haircut statistics and fade haircut statistics show how many men cut at home and how popular the fade is.
Frequently Asked Questions
Q1: Can you fade your own hair?+
Q2: How do I fade my own hair with clippers?+
Q3: What's the hardest part of fading your own hair?+
Q4: Is a low fade or high fade easier to do yourself?+
Q5: What if I mess up fading my own hair?+
Q6: Do I need a taper lever to fade my own hair?+
Related Haircut Guides
Make us a Preferred Source on Google
See our latest articles first in your Google Search & AI Overviews.